Sunday, March 18, 2012

Airing Our Laundry (Room)

As a mother of five boys, my laundry room has seen a lot of me in the last 25 years. Of all the laundry rooms I have had, this is my favorite. My other, bigger laundry rooms had lots of space, but since they also functioned as mud rooms/back entryways, they always collected so much clutter and stuff that they made me rather crazy. Plus, because there was plenty of room, clean folded laundry just collected in the kids' baskets until putting it away was an overwhelming chore. Most of the time, my kids just dressed in the laundry room and just never bothered to put their laundry away at all. 

Here's what we started with - not bad at all, but rather cozy. It's actually a closet with bi-fold doors across from our bedroom on the first floor.


We added an extra 3.5 feet on the right side by incorporating the adjacent hall closet:


Because he gets tired of my complaining about my achin' back Because he loves me, the Handy Stud built me a raised platform for the washer and dryer...


...from this coffee table.


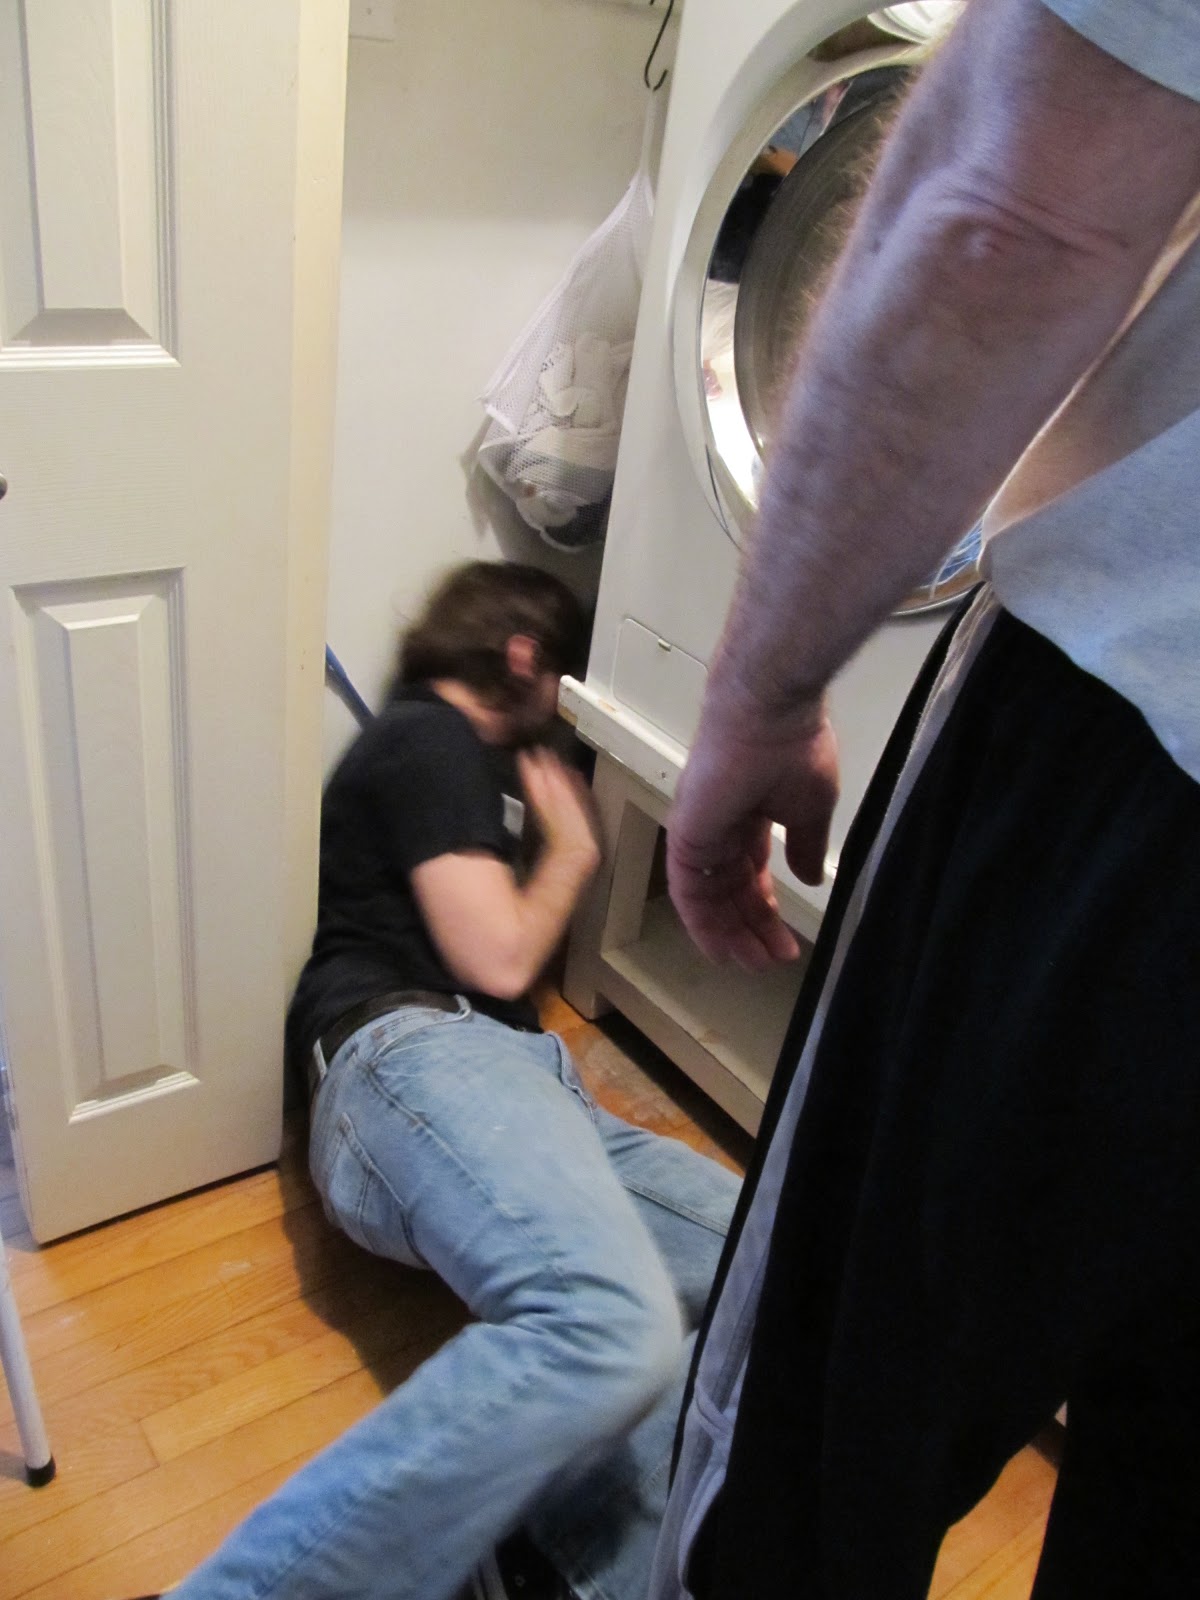
Our brilliant engineer son came over to help the HS. Notice which of the two is on the floor behind the washer...where do you think he got his brilliance?


Paint + shelves + a leftover cabinet from the kitchen = (Almost) finished laundry room - and I'm loving everything about it! (We'll just skip over the part where perfectionistic wife makes poor HS move/change out the cabinet three times...)


On the right side - deep shelves with the hanging clothes rack below. On the floor, the hampers for darks, brights, and whites, which you can just barely see here.


Still a bit of painting still to do, and I'm guessing that the shelves will fill up a bit more as we unpack the kitchen again. Also, some laundry signs and other ideas you can see on my Pinterest board are on the ever-growing LIST. But for now, it's pretty, and it makes me happy. And the laundry is getting done.


Update (and maybe the best part)
Cost for finishing out laundry room:
Plywood for top of  raised washer/dryer platform  ~ $5; repurposed coffee table from raised washer/dryer platform ~ $0; repurposed cabinets and shelves from other parts of the house ~ $0; paint ( about a third of a $20 gallon can - to be used in other rooms also) ~ $6.66; hanging clothes rack, an Ikea rail we already owned ~ $0; 3 laundry hampers from WalMart ~ $12; 2 candy jars from WalMart for holding soap & dryer sheets ~ $8; all other baskets and containers we already owned ~ $0

Total so far: $31.66
With the rest of the paint and some DIY signs and/or decorative things here, I expect the grand total to be less than $50.


Thursday, March 1, 2012

Kitchen Progress

I think we are finally on the mend here. And while we were coughing, sneezing, wheezing, and generally being miserable, many things were happening in the house.


The Handy Stud actually pulled the floor up before the plague struck. Two layers of vinyl, subfloor, and one more layer of tile before he got to the actual subfloor.


He had to leave a little square under the stove for now. But we ordered the floor yesterday, and this stove will be making its exit sometime next week when the plumber comes to put in the gas line for the new stove. Since the basement is finished, they will have to cut up the subfloor to do the gas line and pull a water line for the refrigerator ice maker. Here is the floor we are going with:


It's a vinyl tile by Mannington, but it will be installed with grout to look like ceramic/stone. It looks a good bit  like the stone on the fireplace and the outside of the house. And, best of all, it's DIRT colored!!


The carpenters also removed the old cased opening, and made this lovely arch...


...and added a knee wall.


The shelf is just sitting there for now so we can see if we will like will look when finished. We think it's cool!


Looking from the kitchen into the great room. This side will have a cabinets and countetop.


And here is the new refrigerator that we found at Best Buy in the scratch & ding section, which saved us over $500. There are two dings - we figured it would look like that after two weeks in our house, at a conservative rate of one ding per week. It also gives us the relief right up front that you feel when you get the first ding in your new car - all other dings are far less traumatic. Except we always buy pre-dinged cars too. Probably for the same reasons.

I'm guessing when she reads this, my daughter may try to use this logic on me for the importance of buying pre-ripped jeans. Somehow, it just isn't the same. Case closed.

Tuesday, February 21, 2012

Of Disappearing Doors and En"light"ened Entryways

Doing a little catching up with a couple of posts today. We are laying low with fevers and yucky stuff today, and this seems like a mindless and low-energy occupation for now, since the rest of my list for today just got jettisoned.

First, disappearing doors. The door on the right that you see in this "before" picture is the coat closet, which we had crammed with junk other than coats. We decided to appropriate that real estate for the laundry room that sits directly behind the coat closet. The door on the right opens into the bathroom, but was not really needed, since we have another entrance from the back hall. Since the wall on the right was coming down, we didn't want the bathroom door opening into the living room. So...


This is the view now as you come in the front door.


And both the entryway and the living room now have tons more light - a very valuable commodity when you live in the woods. One of the major things we wanted to do was add some light. Because of the beautiful stone exterior, adding windows is not an option (with one exception, as you will see in upcoming weeks).


And since I am sure y'all are dying to know where our coats and shoes go, here are a few shots of  our beautiful back hall! The hook racks are Leksvik from Ikea, and I love them - and I especially love the price. Ignore the dirty socks on the floor. Pretend I picked them  up, like I meant to.


The shoe rack we have had for years, and it got a little shoring up yesterday from my handy stud, including the addition of casters at the bottom so I can roll it out easily to sweep behind it. Of course, that is assuming that I am ever gripped with the desire to actually do such a thing. The little ottoman has had many lives in our home(s), but has happily found its true vocation as sock-stower. This works well, since it is within easy tossing distance of the washer and dryer (behind those doors on the right). I like tossing laundry. It makes me feel happy and carefree.


 More on the laundry room and our cheapskate economical DIY ideas for making that an efficient and cheerful space in a future post. But for now, here is what we got by eliminating the closet.

Before:


After - doesn't look like much yet, but it's about an extra 3.5 feet for laundry hamper, deep storage shelves, and a small rod for hanging clothes.


Here is the back of the walled up bathroom door. We envision a repurposed dresser from our bedroom in here for storage. Love the wainscoting in this bathroom. Thanks, Brian!!


Thursday, February 16, 2012

Dust In the House

...all we have is dust in the house...

Walls started coming down today! The wall separating the front hall and the great room was apparently added when air conditioning was installed to the house - probably sometime in the 70's. All of the other walls in the house were plaster, but here it was drywall. The front hall is 8 feet wide, and we decided that was valuable real estate, as we really enjoy hosting large gatherings. So, down came this wall on the left side as you enter the great room, along with a section about a foot wide on the right side:


Here is the view from the great room side before. Yeah, the stud was a little tired after manhandling cabinets all day, so he's probably facebooking...


And here is what it looks like now. Lots and lots of light! and space! We are planning to leave the bookcase on the left by the front door, and the part of the wall that houses the air return, although we hope to disguise it a little. Any suggestions for making that column and vent attractive?


We were very happy that the floor under the removed wall is intact, and will only need some minor repair. It is actually in very good shape.


The other major happening of the day was the removal of an old door frame from the dining room into the kitchen, and a reshaping of the opening to match the pretty arch on the other side.


Can't wait to see how much happens tomorrow. We have worked with our contractor,Warfield Builders, in the past. Shannon and Wayne are fabulous, and their crew is always kind, considerate, and very pleasant to have around. The carpenter who has been working with his son-in-law on the wall demo and framing told us the other day that he played at this house when he was a boy, and in his late teens, he helped install the current kitchen when he was apprenticing with a local contractor. 

Sunday, February 12, 2012

Kitchen Demo


Bright and early Saturday morning...before the bloody fingers, banged elbow, and stiff, achy joints...


ummm....yeah....


Refrigerator moved across the kitchen. I think this is better, but I'm still deciding whether I like it. Think it's our only option, though.


Hey Dan, you are supposed to be in bed and keeping your germs to yourself!! But we are all so excited - the doors open all the way! We can actually see what is in the freezer now, and get to it - as well as you can with a side-by-side. But this fridge is going to the basement as a second fridge, and will be replaced by french door stainless bottom freezer...


These cabinets did not survive their removal. Hoping the Re-Store will have 48" worth of base drawers or cabinets that will work. We're planning to paint all of the cabinets so they don't have to be an exact match - just close enough.


Cabinets coming down. Can't believe how much more spacious the kitchen feels!


Three layers down - love this linoleum. We may copy this pattern for the floor - like the idea of using an "original design". Also, found this old hydronic heater under the cabinet. We think there is one more under one of the cabinets that is staying. We are hoping to be able to move this over, since it is sitting where the range will go...


Done - for now. Just need to decide how far out to bring the knee wall. Now for hot showers, band-aids, lots of hand lotion, and bed. There was a time when this would have been a fairly easy day's work, and we would have gone out to dinner afterwards. But we were younger then, much younger than today..
Posted by Picasa

Tuesday, May 3, 2011

Liberty Blue and Fairwinds


Inherited from the beautiful Inn at Stockbridge, courtesy of my gracious in-laws...kind of thinking these will be inspiration for the colors and tone of our cottage.
Posted by Picasa